
TUTORIAL: Creating a Flat Bra Cup Using a 3D Paper Pattern
What happens when you need to fit a bra cup, but there's little or no breast tissue to fit?
Whether you're adapting a bra pattern for a unilateral mastectomy or simply exploring ways to accommodate significant breast asymmetry, you don't necessarily need to start with a specialized pattern.
Sometimes, a little paper and some creative patternmaking can go a long way!
This is a simple technique for creating a flat cup shape using an existing bra pattern. It's a great starting point for experimenting with fit, and you don't need any fancy drafting tools.
What You'll Need
An existing bra cup pattern
Paper and tape to assemble your 3D cup
A blank sheet of paper
Pencil or pen
Paper scissors
Step 1: Make a 3D Paper Cup
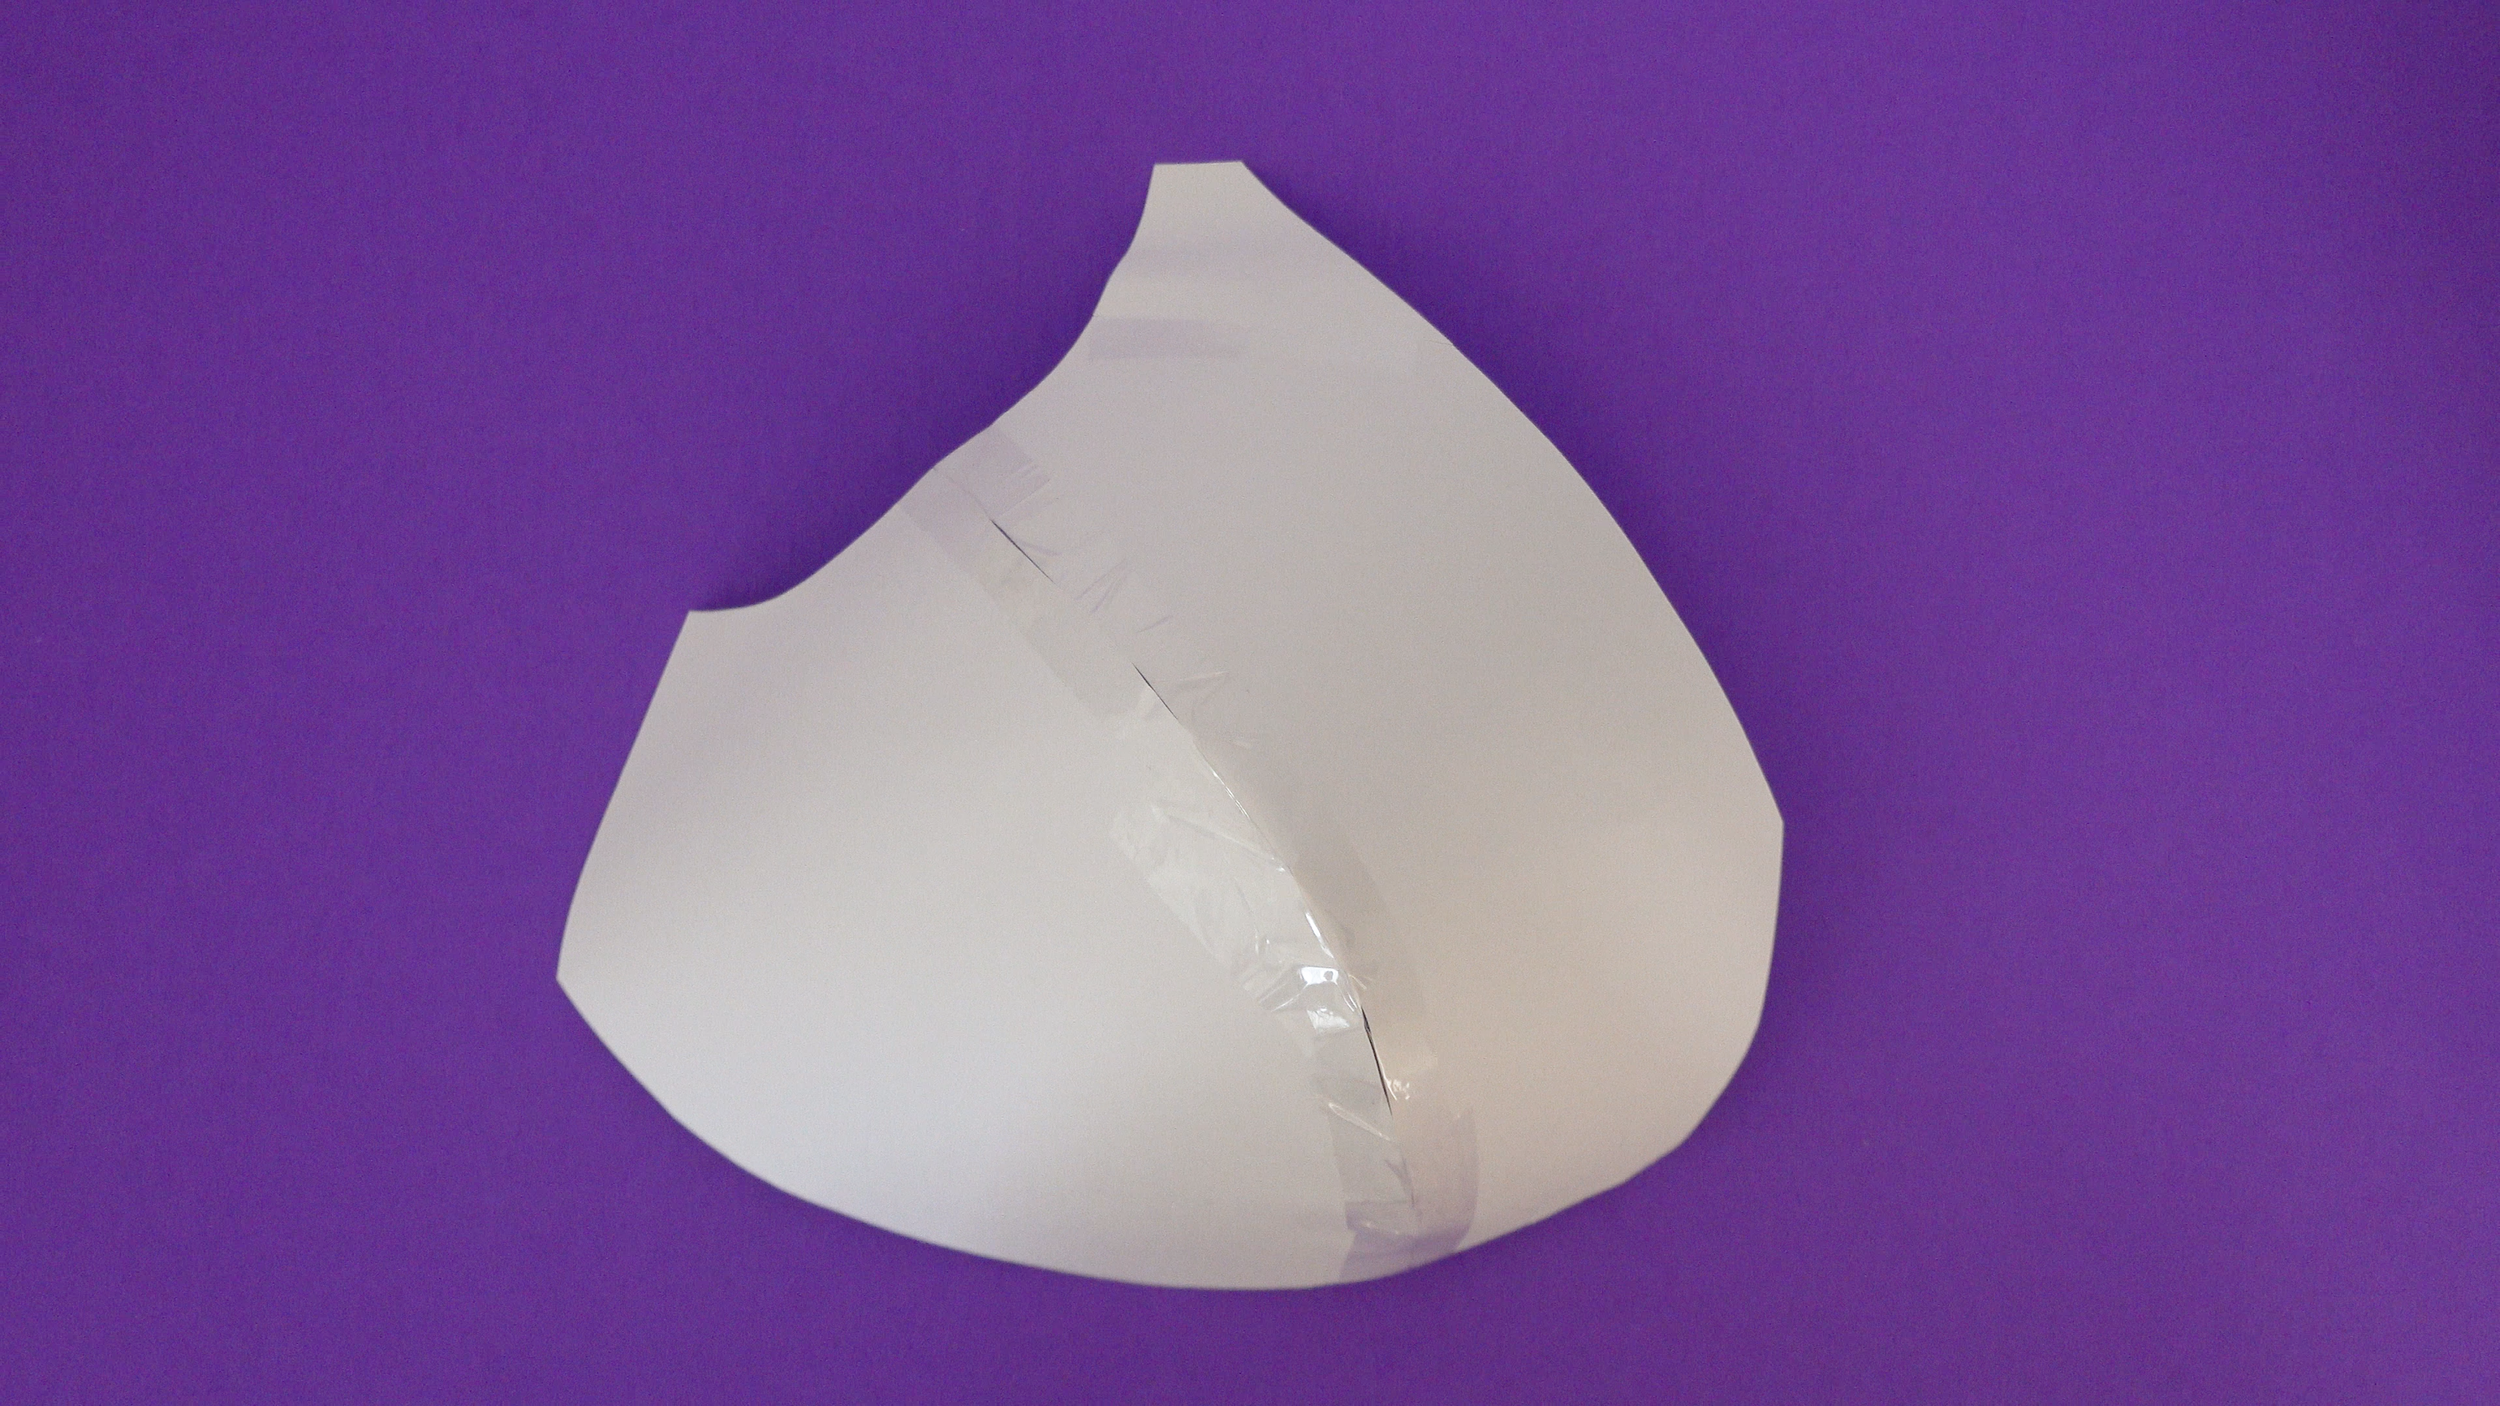
Start with your existing bra cup pattern and remove all seam allowances.
Assemble the cup pieces using paper and tape, matching the seamlines as you would when sewing the cup together.
You should now have a three-dimensional paper version of your bra cup!
Photo suggestion: Assembled 3D paper cup, viewed at an angle.
Step 2: Trace the Cup Perimeter
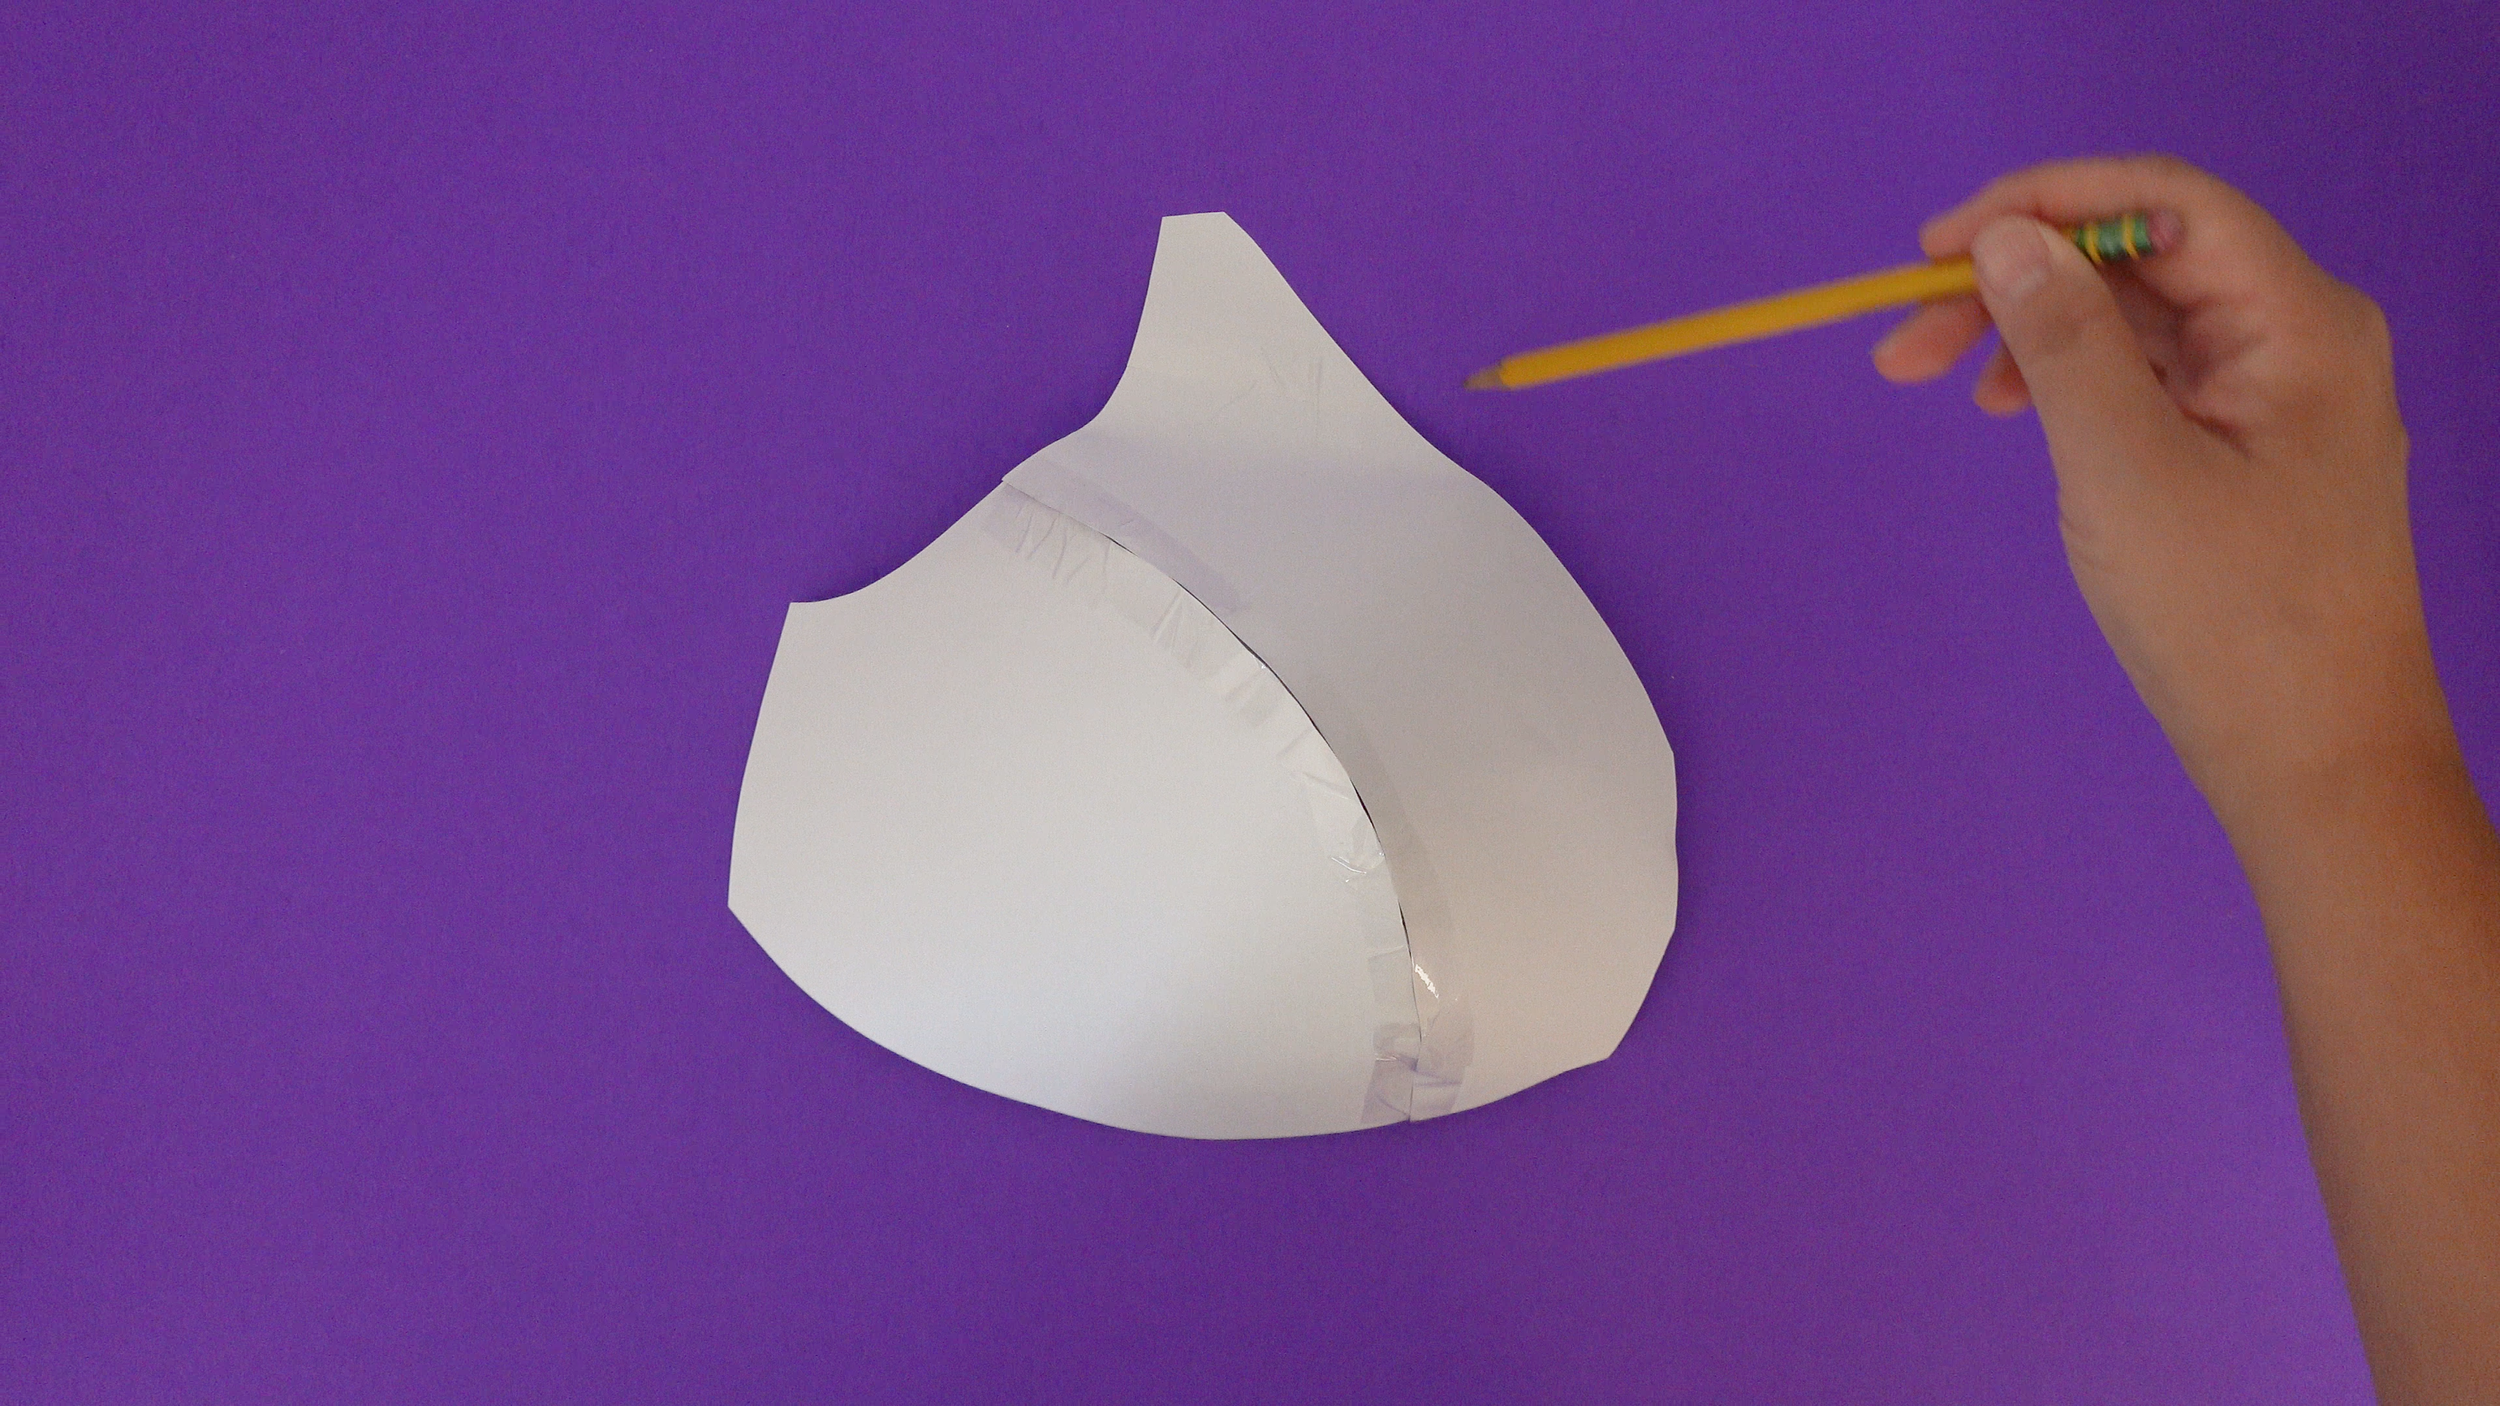
Place your assembled 3D paper cup onto a blank sheet of paper, with the cup opening resting against the paper.
Here's the important part: Don't flatten the cup!
Keep its three-dimensional shape intact as you carefully trace around the outside perimeter where the cup meets the paper.
This gives you a starting outline for the flatter side without having to draft an entirely new shape from scratch.
Photo suggestion: 3D paper cup resting on paper, with pencil tracing around its perimeter.
Step 3: Create Your Flat Cup Pattern
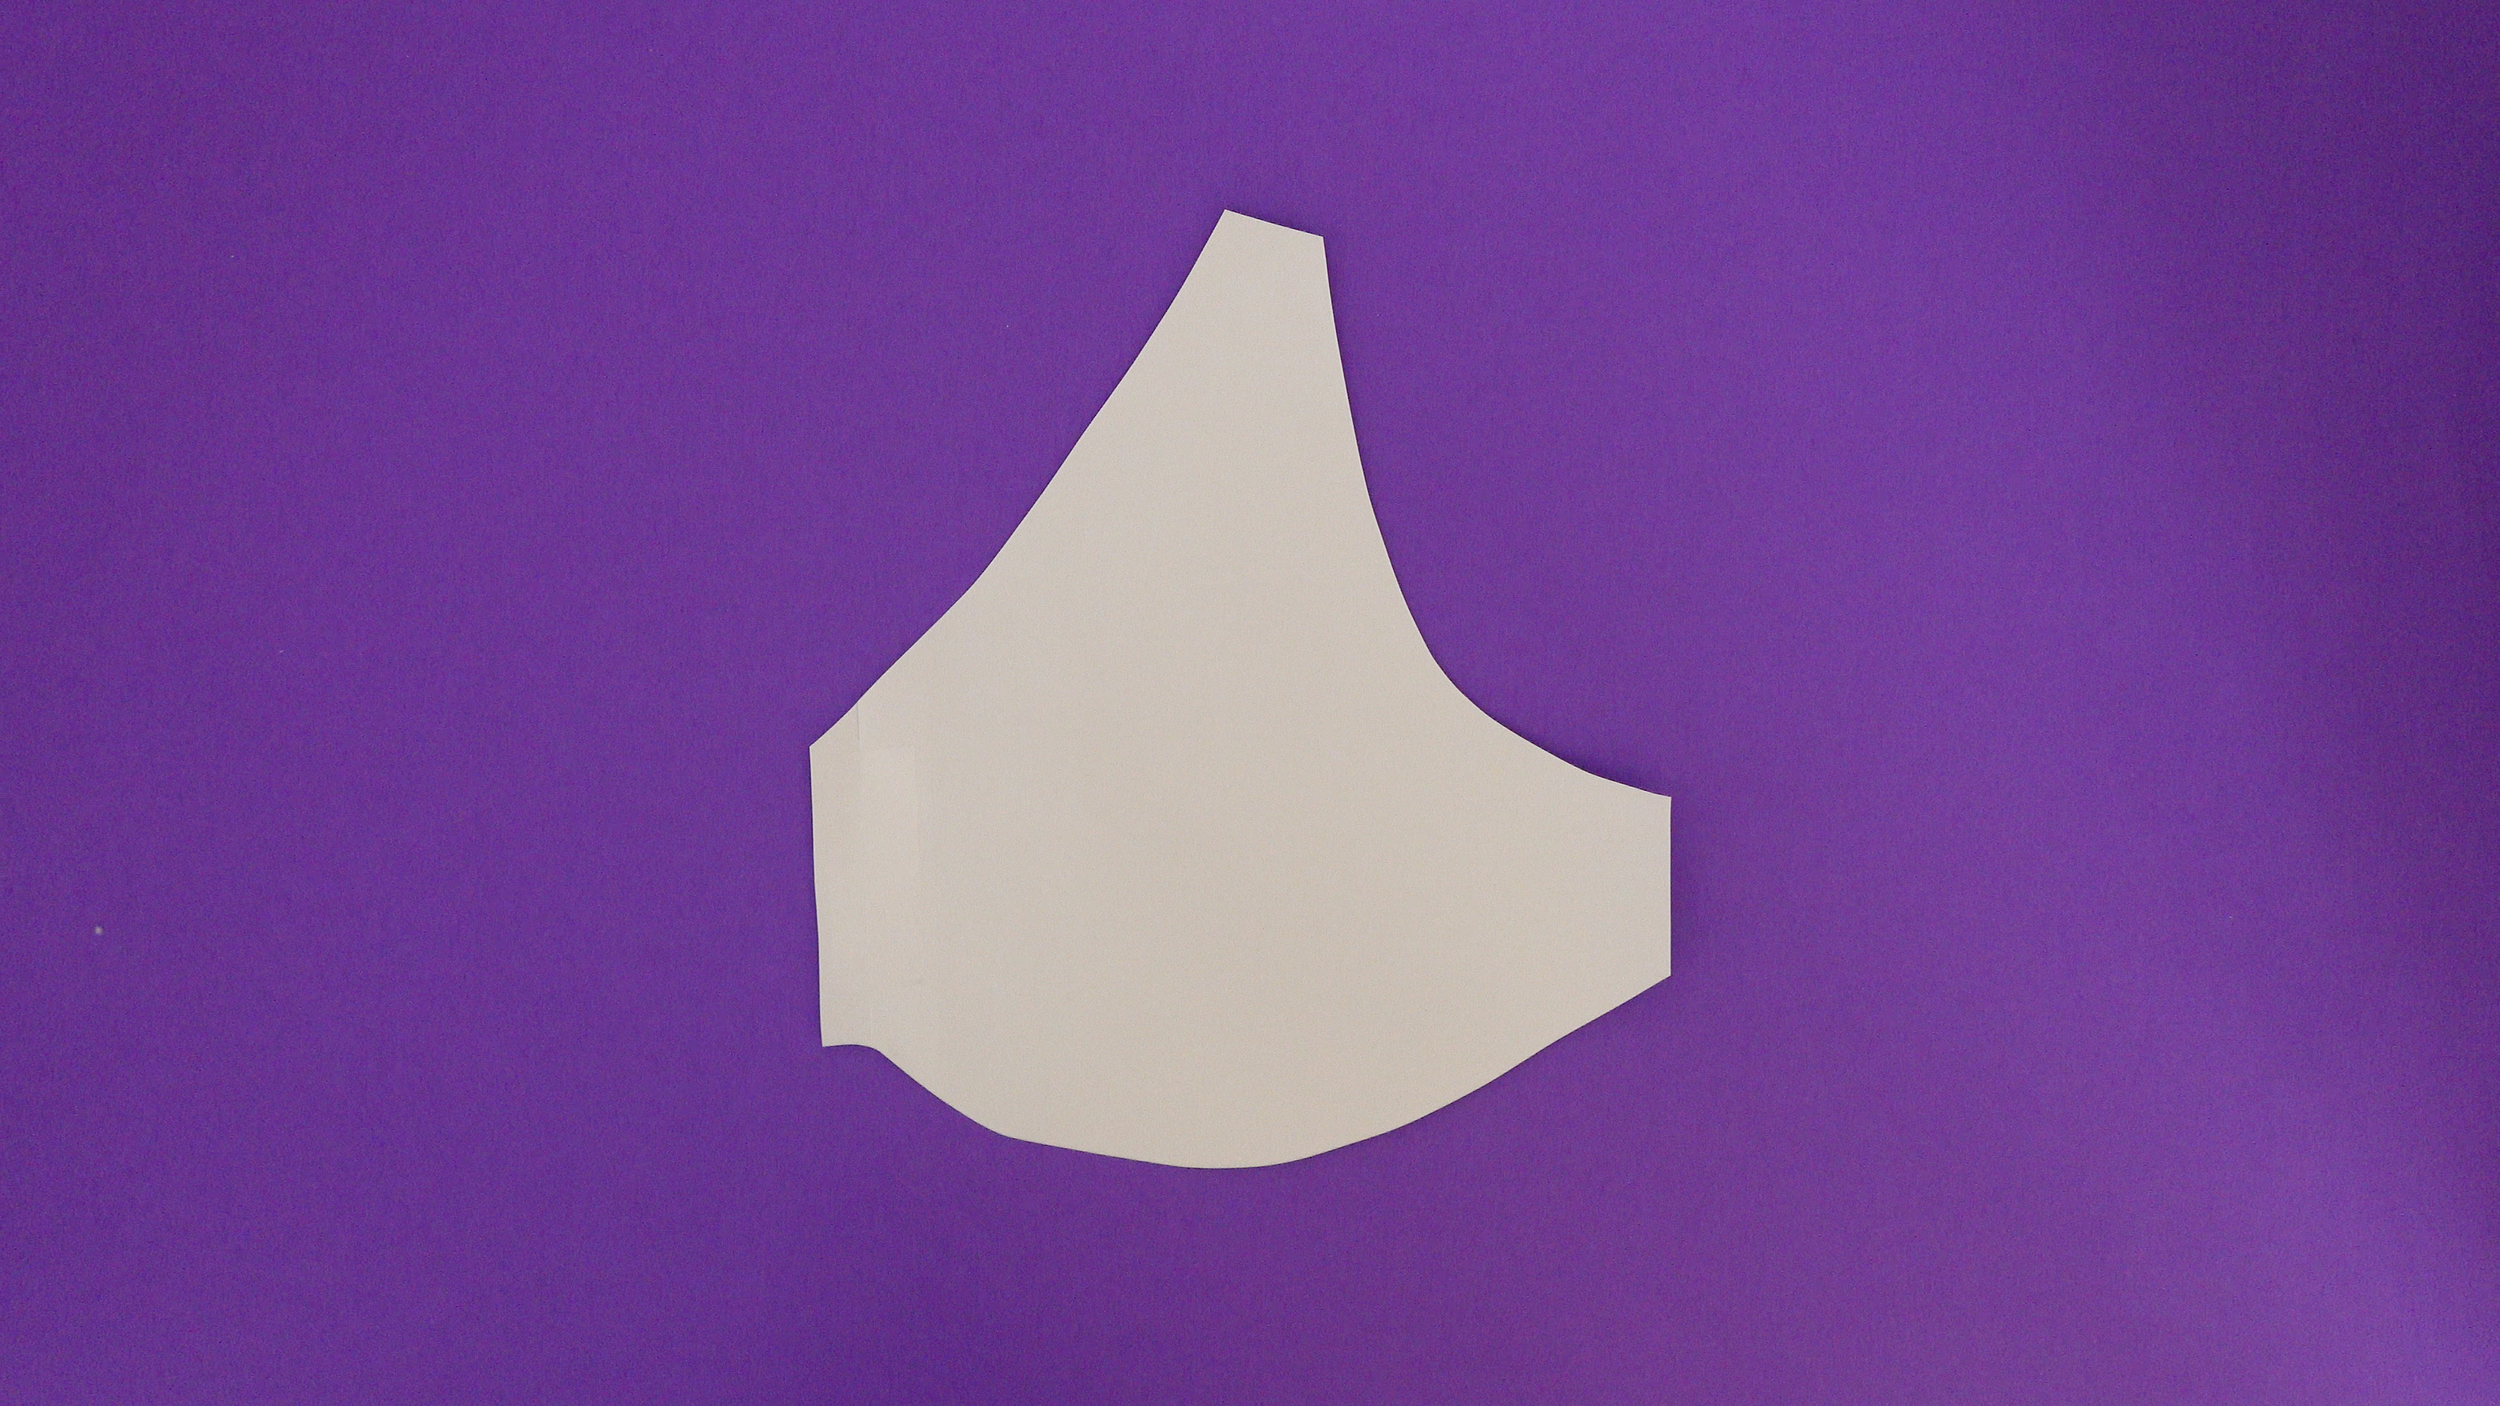
Lift the paper cup away to reveal your traced outline.
This is your starting point for the flat cup pattern. Mark any necessary reference points, check how the shape aligns with the rest of your bra pattern, and add seam allowances where needed.
Depending on the design and individual fit, you may need to make additional adjustments to the neckline, cradle, or cup edges.
Photo suggestion: Traced outline alongside the original 3D paper cup.
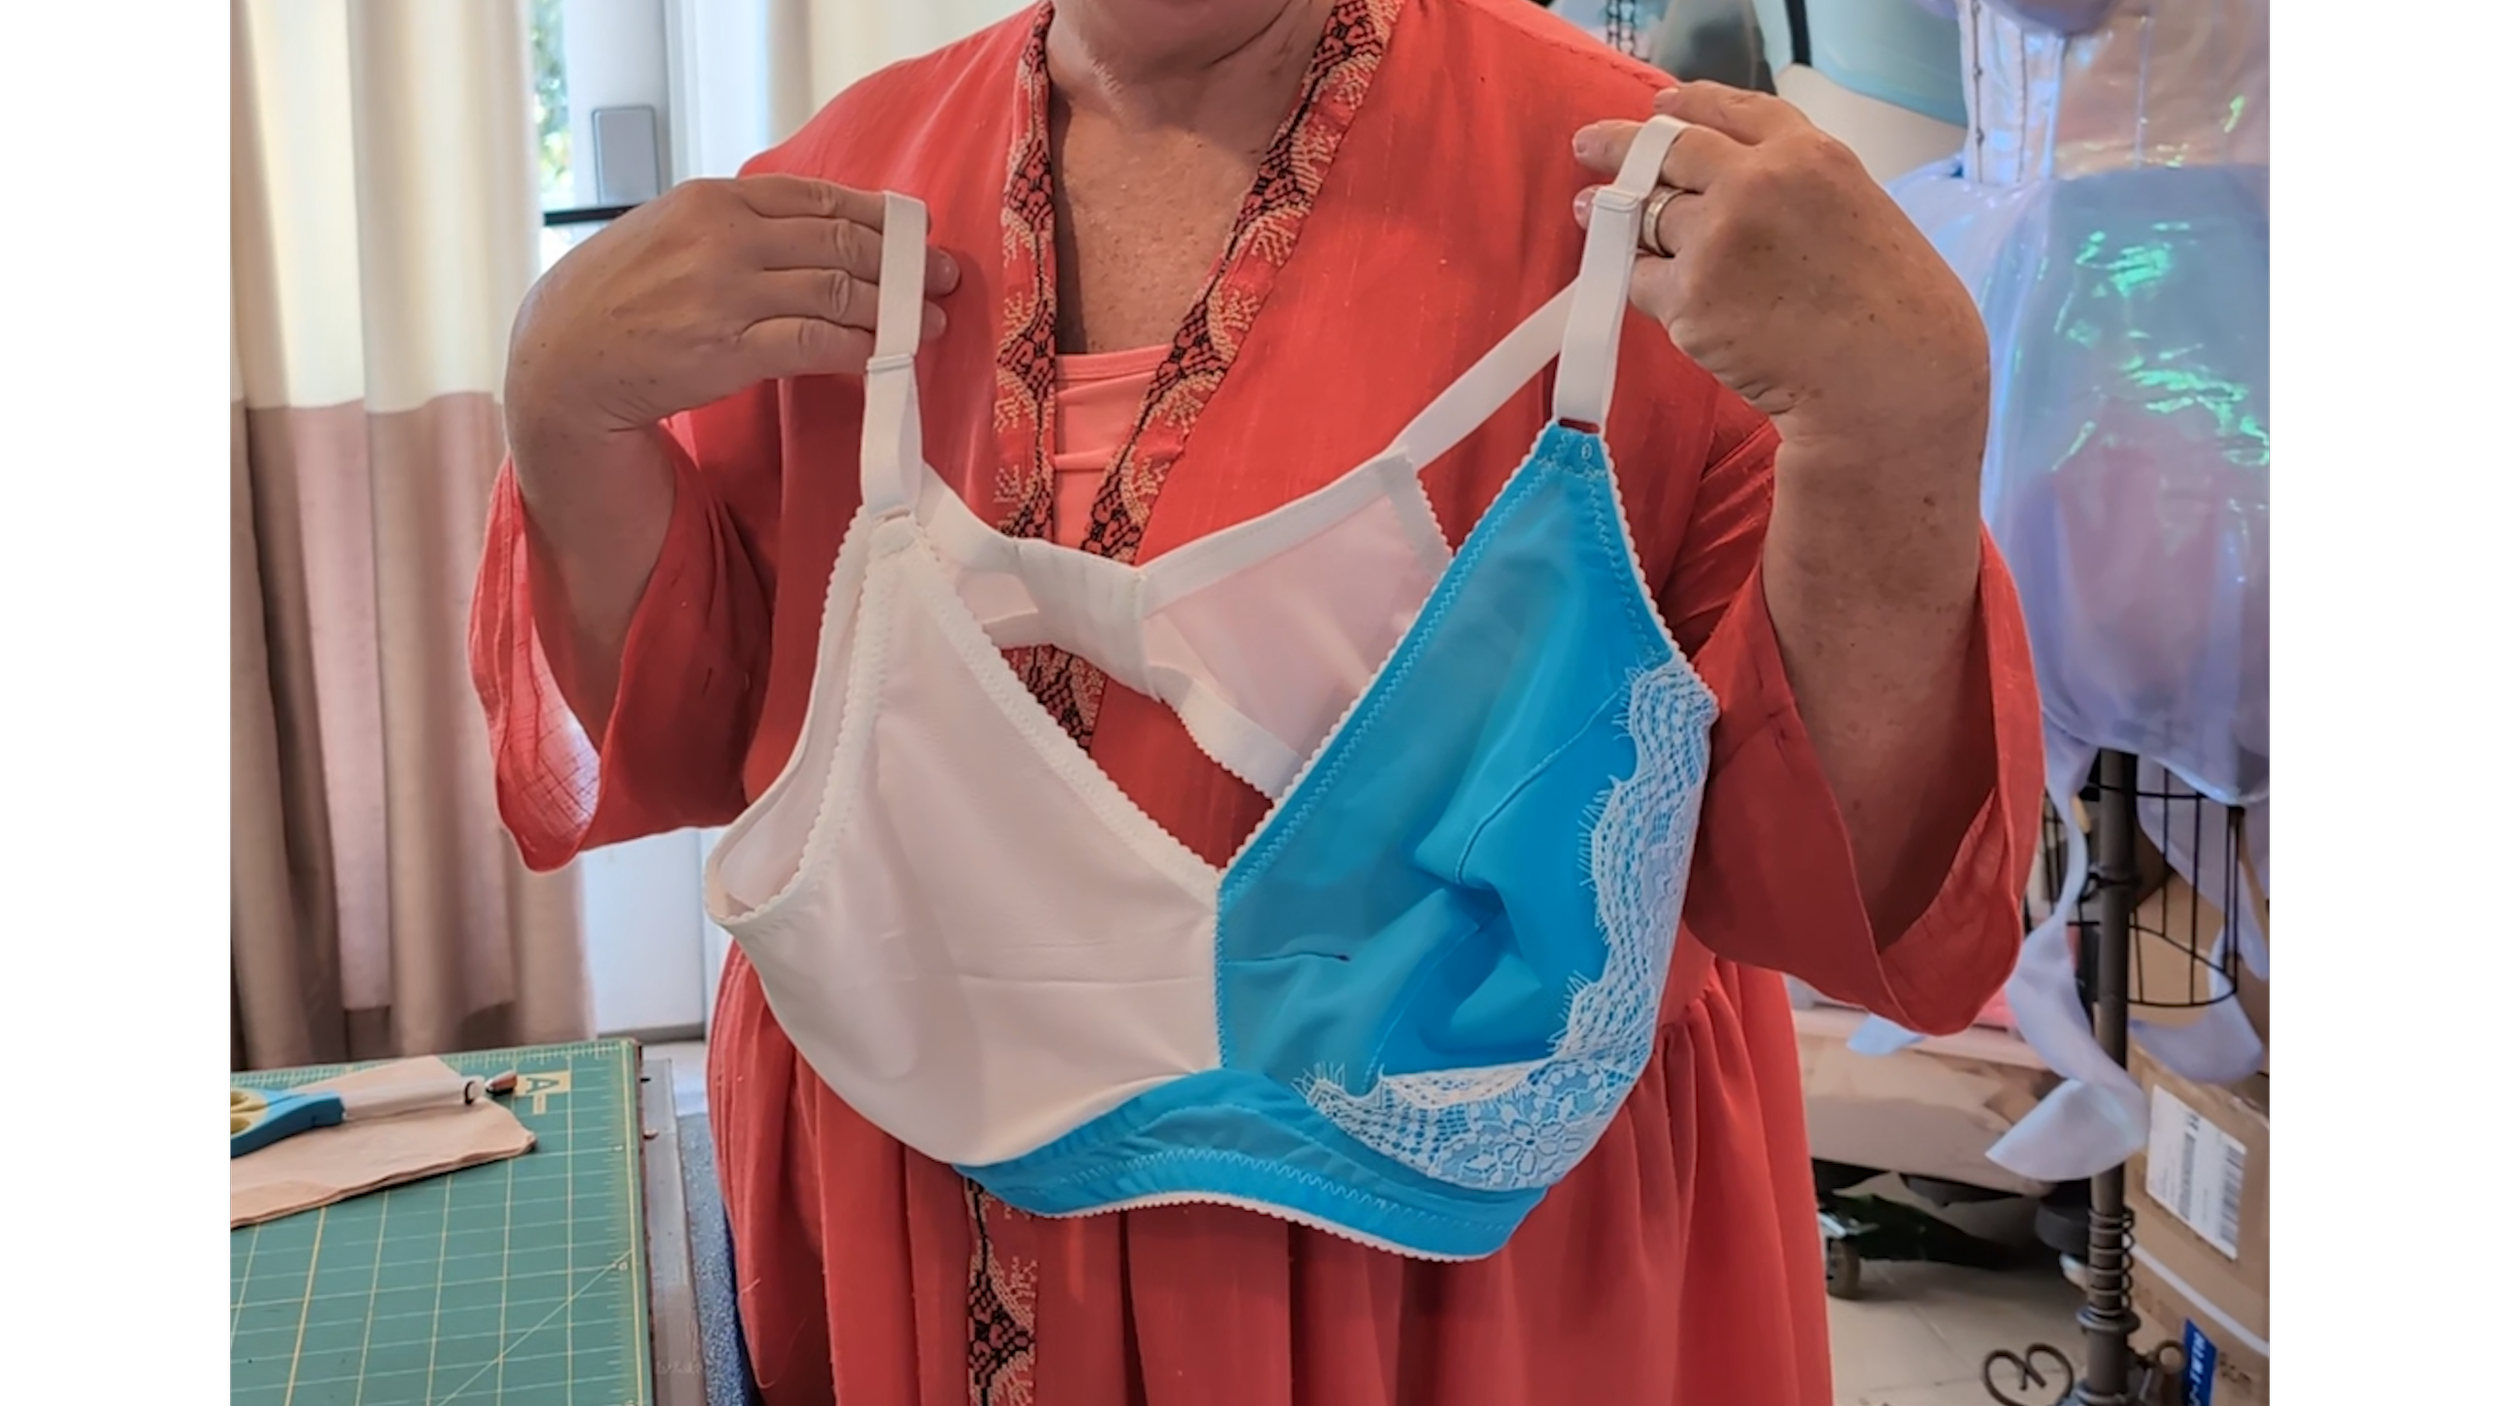
Step 4: Test the Fit
As with any bra pattern adjustment, make a test version before cutting into your favorite fabric.
Check how the flatter side sits against the chest, whether the edges lie comfortably, and how the cup connects to the rest of the bra.
You may need a few adjustments—and that's perfectly normal! Bra fitting is a process, not a one-and-done exercise.
A Few Things to Keep in Mind
This method is a starting point, not a finished mastectomy bra pattern. Individual needs can vary considerably depending on chest shape, sensitivity, surgical history, and whether a prosthesis will be worn.
If you'd prefer to accommodate a breast form or prosthesis, a pocketed cup may be a better option. We also cover how to create pockets for both wired and wireless bras in our asymmetrical cup course.
And remember, there's no single right way a bra needs to look. The goal is to create something that feels comfortable, supportive where needed, and works for the person wearing it.
A Little Reminder About Bra Fitting
One of my favorite things about patternmaking is that we're not limited to the shapes printed on the page.
We can change them!
Sometimes the solution takes a few tries, a bit of creative thinking, and a whole lot of paper. But that's part of the fun of combining sewing, art, and engineering.
The pattern should work for you—not the other way around.
Happy sewing!