Consider Making Your Own Bra!
If you've ever spent hours at a store trying on dozens of bras only walk out with empty handed or settled for the least ill fitting thing the store offered, you may have wondered if custom bras were an option.
While custom bras ARE available, some people prefer to make their own. After all, no one will be as invested in the final result than you!
This is 4 part series that walks a new potential bra maker through general bra making topics not covered by a sewing pattern or a construction video.
Part 1 - Cost, Time, Need and Difficulty
Part 2 - Breast Anatomy in Relation to Bra Fit
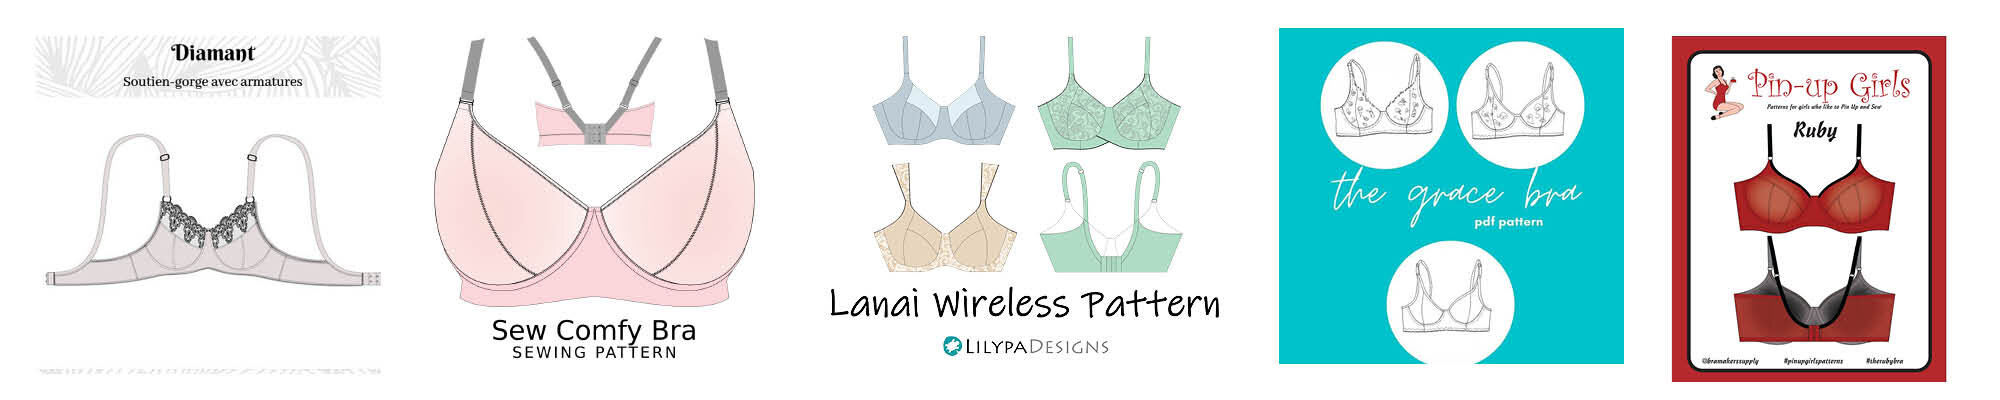
Part 3 - Choose a Bra Pattern
Part 4 - Alterations/Additions to Consider
For those who contemplated making their own bra, they may have come across MANY people (blogs and websites) claiming how difficult it is to sew your own bra. In this post, we'll talk about some things to consider such as cost effectiveness, time, need and difficulty. In short, it all comes down to perspective.
Cost
The ultimate cost of making bras largely depends on what materials one uses. As a beginner bra sewer, most recommend using cheap fabrics as the first few attempts will likely not fit perfectly. This can be accomplished a few different ways:
Recycled materials (parts from old bras, fabric from old slips/nightgowns, etc from your closet or the thrift store)
Free bra patterns - great way practice working with elastic if your sewing skills are non-existent or a bit rusty
Purchasing materials in bulk - buying 10 yards of elastic will be cheaper (per yard) than buying 2. This is a great option if you wear alot of black, white or nude (or just like to coordinate with those colors).
Your initial cost would depend on if you purchased a pattern (perhaps there was one you absolutely loved but had a price tag attached), how much bra making materials you needed to purchase (elastics, fabrics, etc) or if you just bought a bra making kit. A quick word on the kits - while they are often masterfully coordinated and so so convenient, your first bra will likely not fit. Most would caution to save the beautiful kits for when you worked out the fitting kinks in your bra making repertoire. In general, larger cups need more fabric thus would need to pay a bit more and vice versa for those with smaller cups. Those who are particularly endowed may need to double up on the fabrics to get the proper support.
My very first me-made bra utilized a free pattern, recycled hardware (rings and sliders, etc), bulk purchased elastics and specialized bra fabrics + random trim from my stash. It cost me a grand total of $10 for that bra (total expenditure was more). It wasn't beautiful nor was it ugly - very utilitarian with uneven stitches and patches of color. I learned ALOT and still wear that bra from time to time.
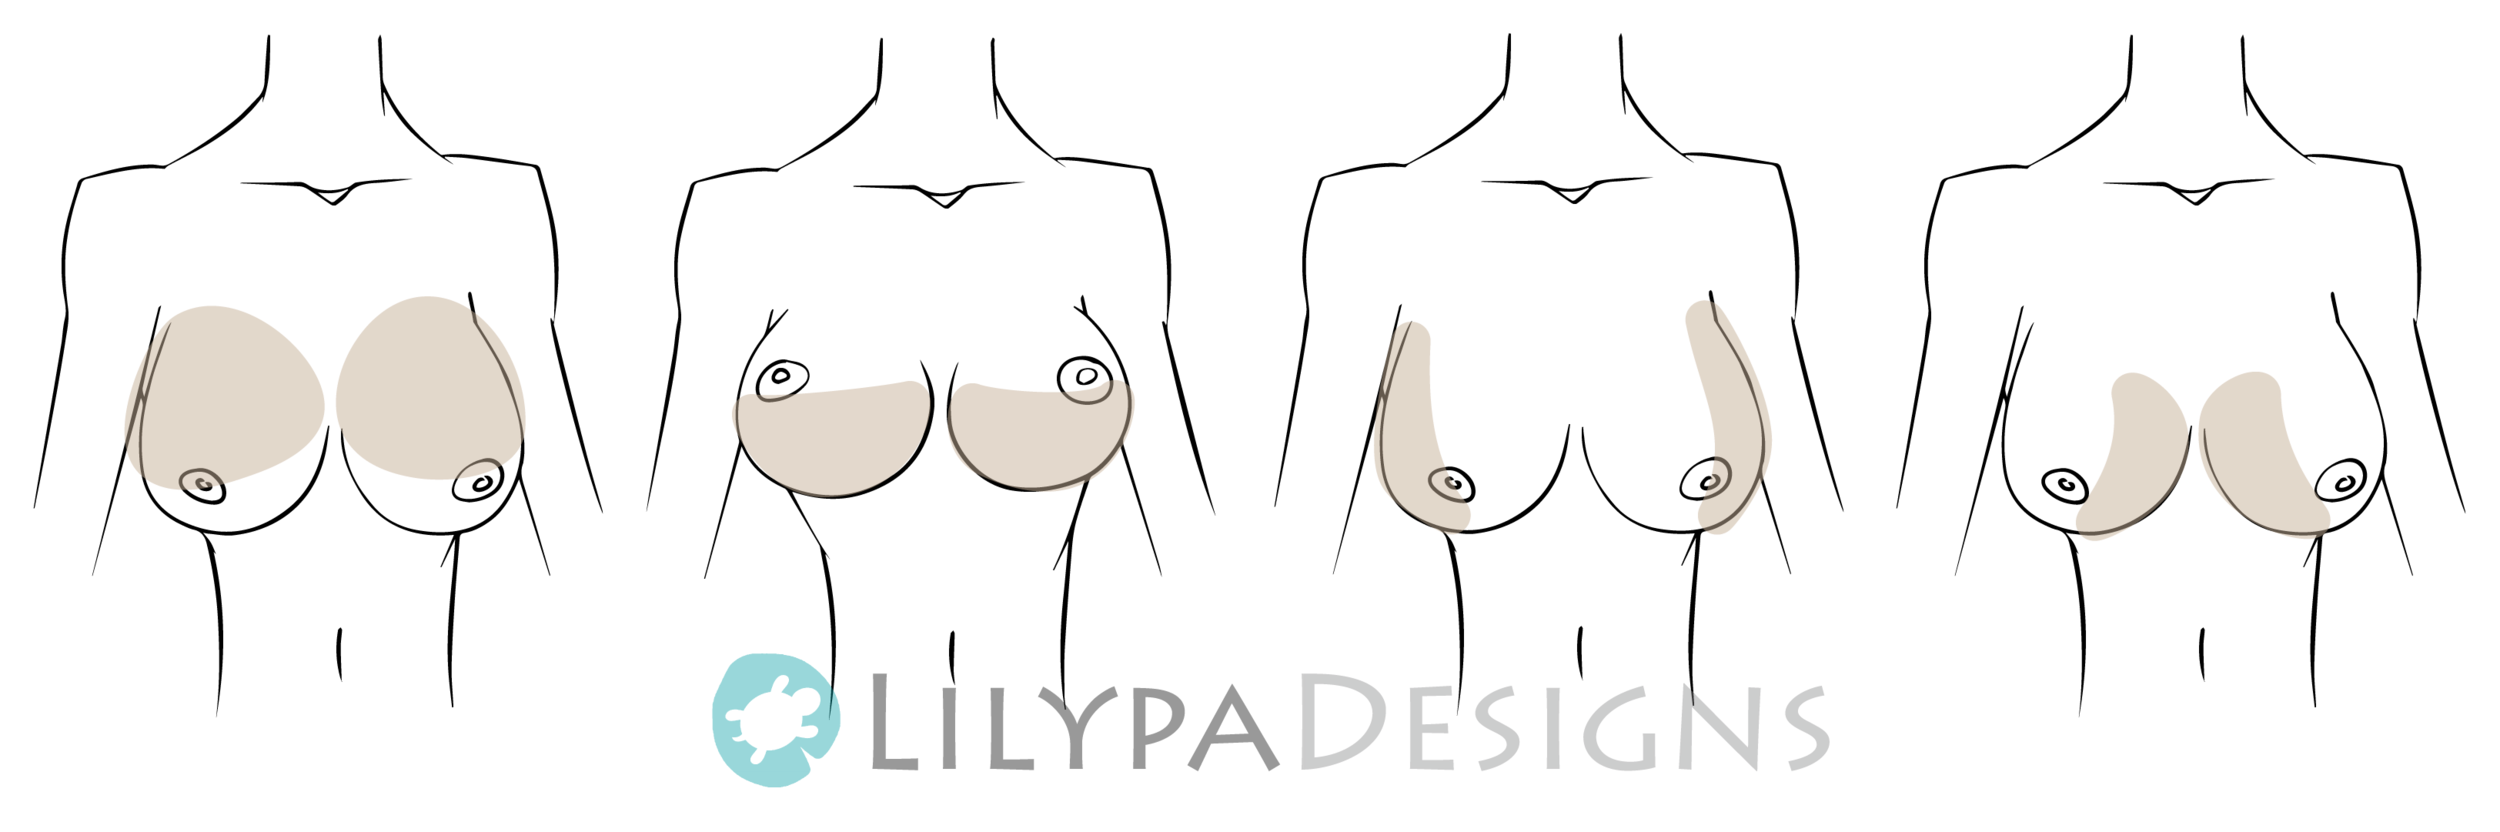
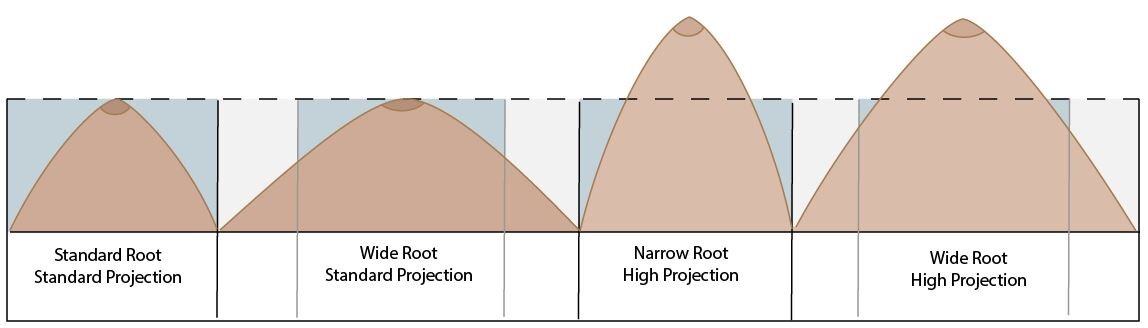
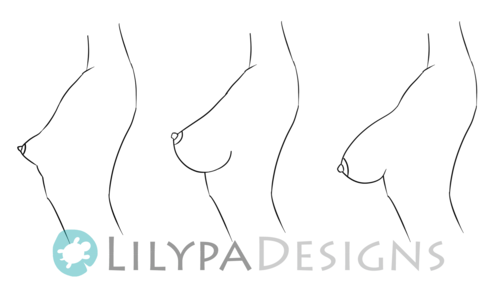
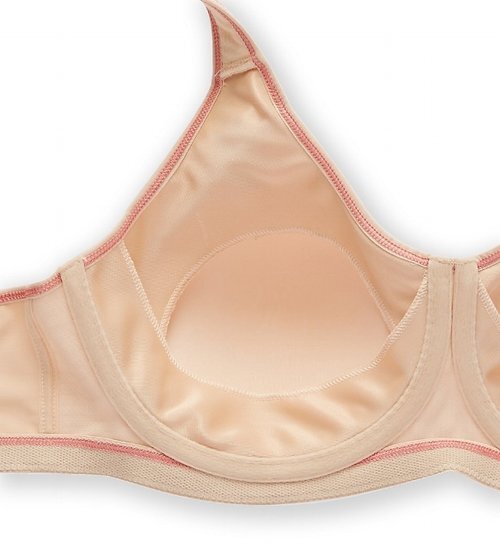
One more aspect of cost (and bra making in general) that isn't always covered. Using a fitting band and/or making a bra toile. [link HERE for toile and HERE for fitting band] A toile (or muslin) is essentially a quick and dirty mock up you make with cheap materials to assess general fit. A bra toile may have the cups, bridge, band, straps and hook/eye basted together (and wires slide in) - without any elastics. While pretty quick (and possibly use "real materials" as it is just basted together), I found this seems to work best for those who are still self supporting as the band (without the elastics) provide very little support. A fitting band is a regular bra with all pieces (bridge, band, elastics, hook/eye, and underwire) but NO CUPS. This is an EXCELLENT method for those with omega shaped breasts as it ensures the wires, bridge and band all fit before tacking the task of finding the right cups. You can pretty quickly and easily baste cups on to the fitting band and remove it just as easily. With the fitting band, you are able to fit multiple cups (with their respective alterations) in a short amount of time. It is so good that I would recommend it to all home bra makers. Making the fitting band will also add to the grand total.
Time
One of the beauties of making your own bra is that you can work on it when you have time. Sometimes that means during the kid's nap time, a rare day off or while the rest of the family is watching <Enter Movie Name Here> for the umpteenth time. Also, smaller patterns mean it takes less time to cut everything out and less space needed at your sewing station (or the 18" in front of your computer monitor you call your sewing space).
As for the all important question - How long will it take to make a bra that fits? It depends. A skilled sewer in a factory setting can put one together in 3-4 hrs. Doubling that number is a good place to start for a beginner with some sewing exp. This only addresses the actual sewing and not the time it takes to alter patterns or cut out the pattern pieces. For MOST women, some alterations to a bra pattern will be required. This is typical and expected. How MANY changes one needs depends on the individual. One theory is that the more bra sewing (and fit) knowledge one has, the more changes one needs. Essentially, the more you learn, the higher your standards for fit are. Another theory is that it depends on what the person was wearing before embarking on the bra making journey. If a person wore VERY ill fitting bras prior, they may be thrilled about a bra that MOSTLY fits. If a person wore a slightly ill fitting bra prior, they may be more exacting about fit. The former person could have a bra that fits in 3 tries, the latter may be closer to 8 tries.
Here's a great personal example of the first theory. When I completed my first bra, I was elated that it fit! A few bras later, I realized a few mistakes I had made in that first go around. Now, I can provide a laundry list of things that could be improved on that same bra.
Need
The greater the need, the more likely one will persevere. Like any other new skill, there will be ups and downs in bra making. Sometimes you just need to walk away from the project for a time. When you return it will be with fresh eyes and perspective. It may take several days, weeks or months to get your bra to fit the way you want. The more you need that bra, the more likely you'll keep trying new things until its right.
Difficulty
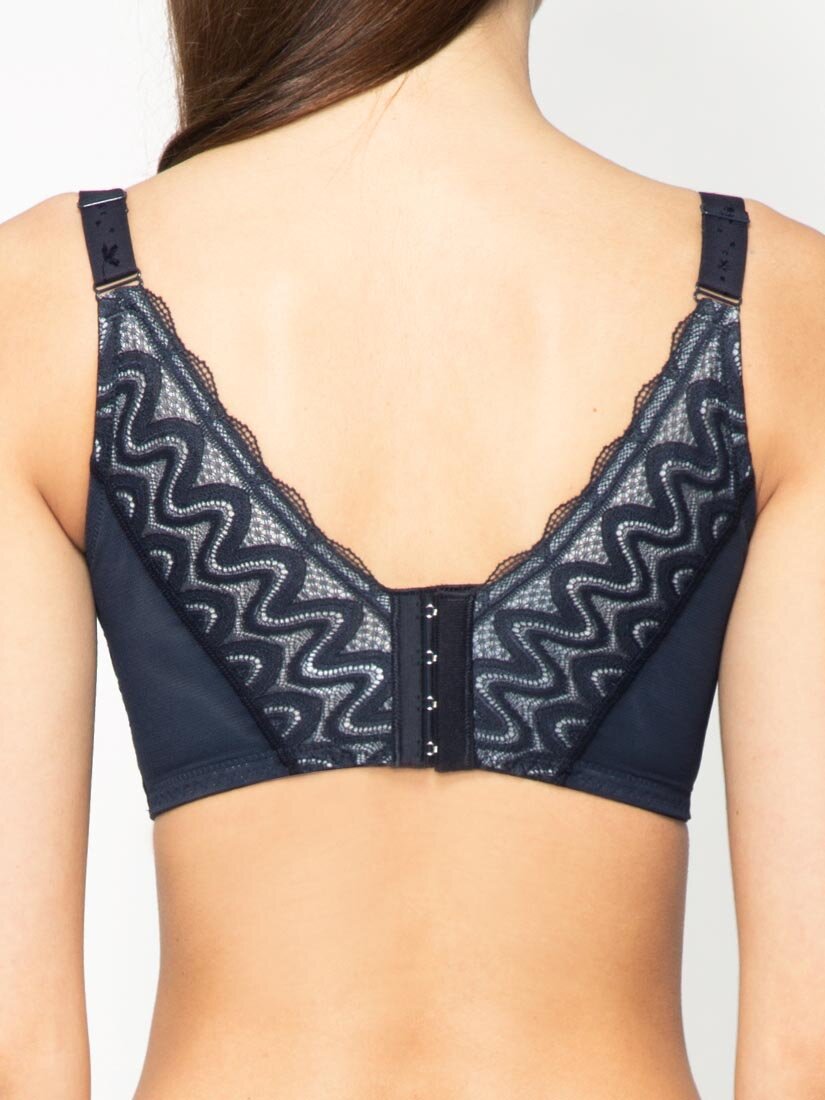
Bra making seems to have a reputation of being more difficult than regular sewing. The best statement on this subject I have heard is this: if you can set in a sleeve (sewing a sleeve to the body of a shirt), you can sew a bra. The physical act of sewing is not difficult - for most of us, it involves pressing a pedal and guiding fabric. The time consuming part comes in with the fitting process as it is a bit of trial and error.
For the actual sewing: there are 3 types of stitches bras use - straight stitch, zig zag stitch and 3-step zig zag. They are used to make the straight and curved seams you see in bras. In terms of skill, most bra patterns utilize a 1/4" seam allowance (or 7mm). For most people that means you are lining up the edge of the fabric to the edge of a sewing foot instead of a line on the throat plate. Lots of pins may be involved (especially for curves).
By far the *best* solution to tackling difficulties when bra sewing is a support network! Friends who sew can be a great resource for basic skills. Friends who sew bras (in person or online) can also be a great resource for bra specific issues. Check out some of the bra making communities in Facebook such as: LilypaDesigns Pattern Group or Bra Making with LilypaDesigns.